We asked if the piano came with a bench, and it did, but it was in such bad shape, they had discarded it, and it was out by the dumpster. They assumed no one would want it. Wrong! I wanted it and I knew I could make it beautiful again!!! So I took it home, and I've included step-by-step instructions how to restore an old piano bench for only $43 (including fabric, batting, foam, stain, sander, staples)
 |
| "AFTER" -- RESTORED PIANO BENCH |
 |
| "BEFORE" -- ORIGINAL PIANO BENCH |
STEP-BY-STEP INSTRUCTIONS TO RESTORING AN OLD PIANO BENCH:
1. Remove lid from hinges
2. Using a screwdriver or painter's tool to remove nail heads and/or staples
 |
| *** TIP: wear a mask *** When I started to open up the fabric, and flipped the lid over, 56 years of dust, dander, and the odor of cat urine came wafting out, shooting directly into my eyes and nose |
3. Remove original upholstery fabric and batting
 |
| Original upholstery |
 |
| Underneath the upholstery, I found another upholstery, a beautiful green silk, probably original from 1959 |
 |
| Remove second layer of upholstery and batting |

6. Purchase Classic Low Loft Batting (36" x 45") and roll of 1" thick Pure Foam Cushion


 |
| With a 30% coupon, the total for batting and foam: $22.50 |
7. Purchase upholstery fabric (1/2 yard is perfect for a piano bench)
 |
| I loved this fabric with blue velvet flowers |
 |
| Fabric: $19.95/yd x 1/2 yd + CA tax = $10.85 |
8. Align wood lid/seat with 2 straight edges of foam and trace the other 2 edges of the wood lid/seat


 |
| I used the wood lid/seat as a straightedge and a kitchen knife |

 |
| Use a light coating of Spray Mount along the top of wood lid/seat |
 |
| Align foam with wood lid/seat, reposition as needed |
 |
| Align foam with edge of wood lid/seat and lay flat |
11. Trim one layer of batting approximately 2" beyond the wood lid/seat edges

12. On the remaining layers of batting, trace the edges of the wood lid/seat (now with foam). I was left with 2 layers of batting the size of the lid in addition to the oversized piece.
 |
| My 7-year old daughter wanted to help, so I let her trace the pattern |

14. Place 2 layers of the trimmed-to-fit batting on top of foam (shown), add the oversized layer on top (not shown)

15. Carefully flip lid over, and pull oversized top layer of batting up and over the lid.

16. Starting in the center, use a staple gun (and 3/8" staples) to staple batting to bottom of lid
 |
| Staple every 1"-2" and notch out area for hinges (optional) |

18. Wrap corners like wrapping a present -- remove excess batting as needed to create a neat corner

19. Staple corners


Lid/Seat without fabric should look like this:
 |
| Bottom |
 |
| Top |

22. Place lid/seat face down on fabric (**make sure pattern is centered**), wrap fabric around edge and fold fabric (optional) for clean installation
 |
| Wrap fabric |
 |
| Optional: fold fabric for clean edge |


 |
| Bottom (I did not notch the fabric for hinges) |
 |
| Top |
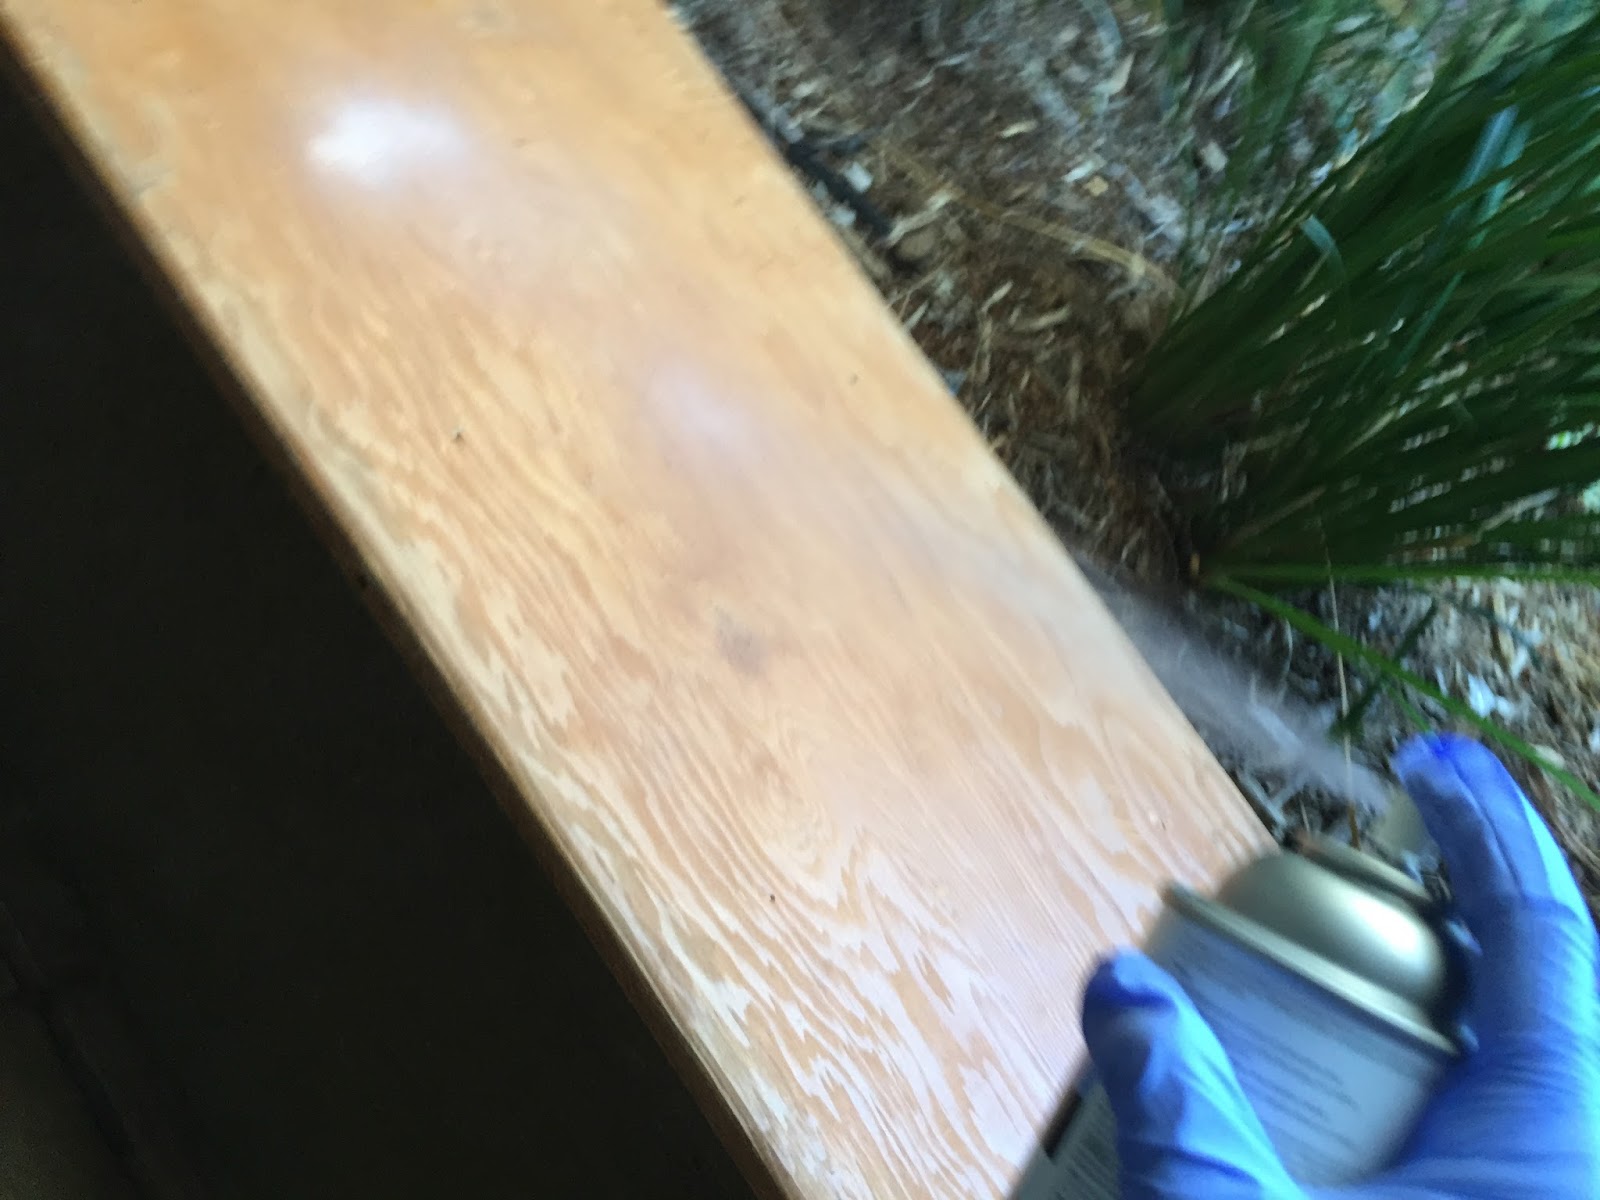
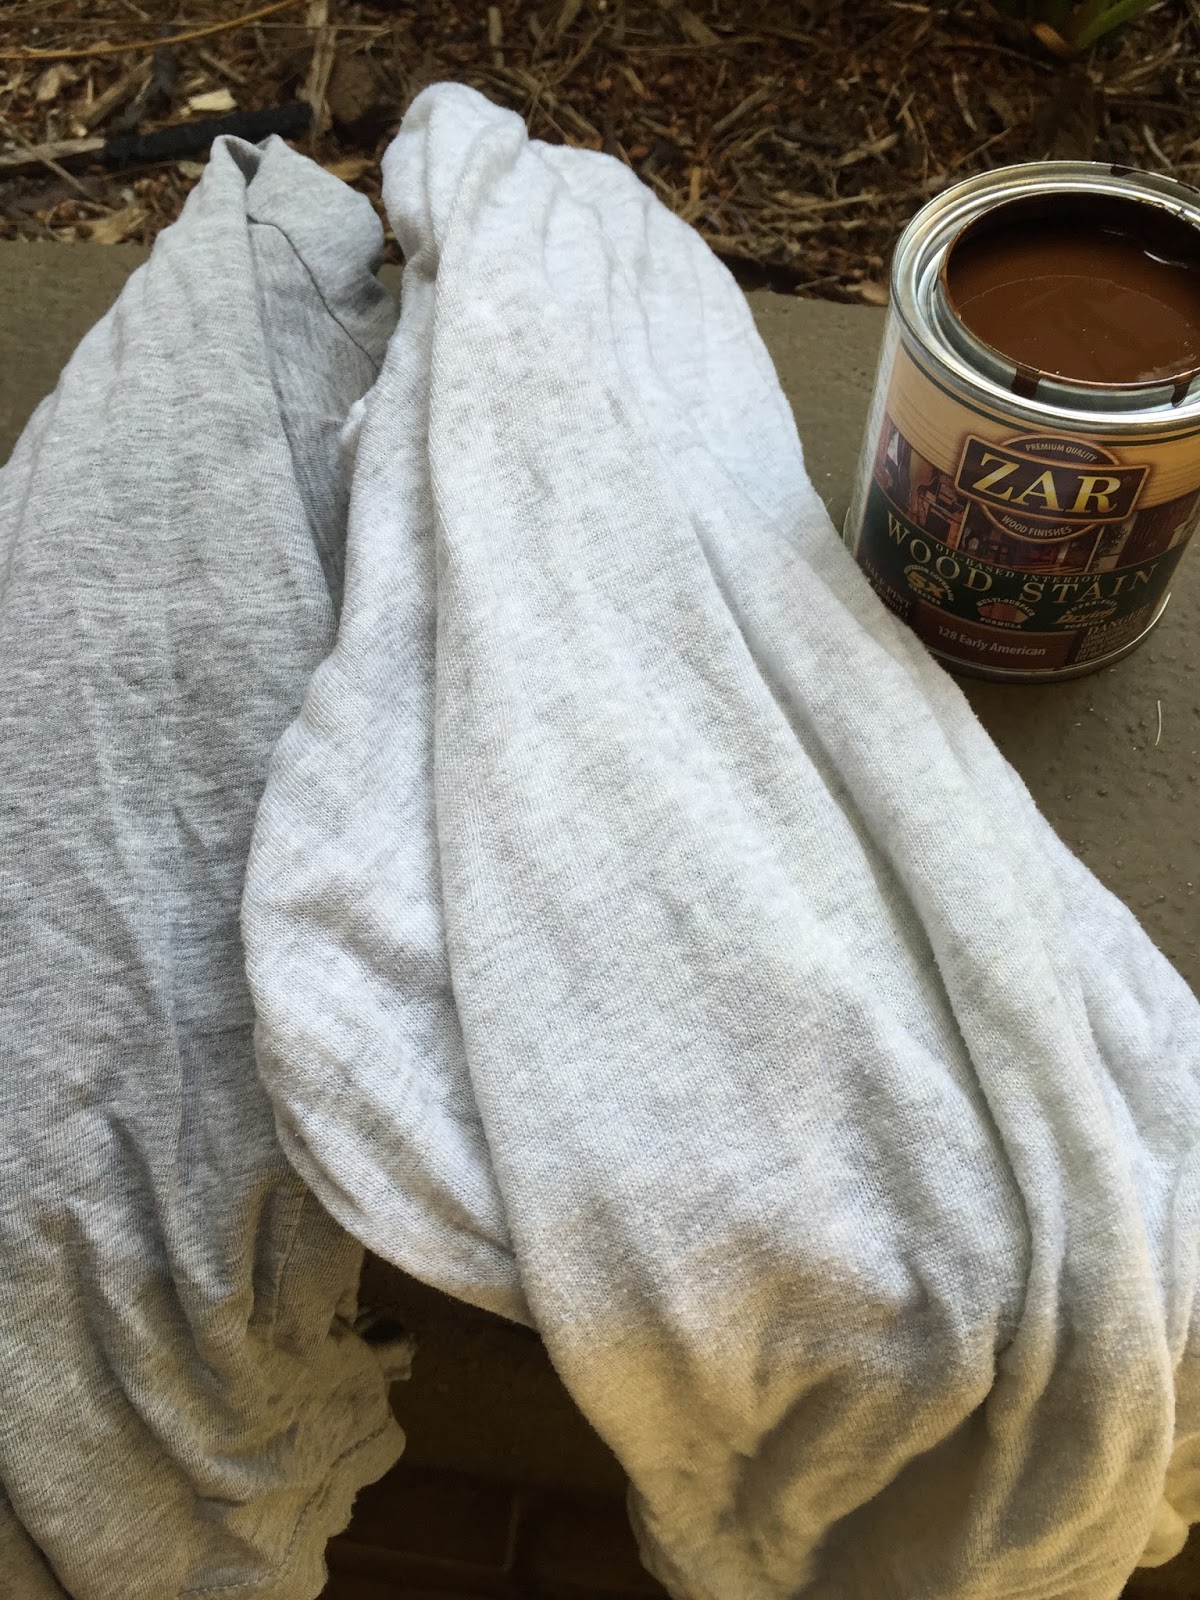
25. Gather everything to restore the base: mask, gloves, safety googles, sanding sponge, paint thinner or mineral spirits (I used Goof-Off that I had at home), stain to match wood, old t-shirts. Do this OUTDOORS in a well-ventilated area.
 |
| Base is really beat up |
 |
| It looks like a pet gnawed away at the wood base |


According to the Wood Stain instructions, you should strip off the old finish first (I skipped that step).
26. Using the sanding sponge, sand all sides thoroughly


28. Using another t-shirt, rub on stain in direction of grain. Wipe off excess.

29. Allow to dry. Although it could have used a second coat, I only did one coat because it looked so much better, and I didn't want to make it darker. After 3 hours, it is supposed to be dry, but I kept it out overnight to make sure it was completely dry and the fumes were gone.


31. Since the original holes were stripped, we drilled new holes on the opposite side of the seat bottom with a super thin drill bit in the marked locations


COMPLETED PIANO BENCH
 |
| Restored piano bench (closed) |
 |
| Restored piano bench (open) |
 |
| Our restored piano bench with our new vintage piano |
I LOVE IT!!!
No comments:
Post a Comment